Garden Adventures, Spring 2014 Edition
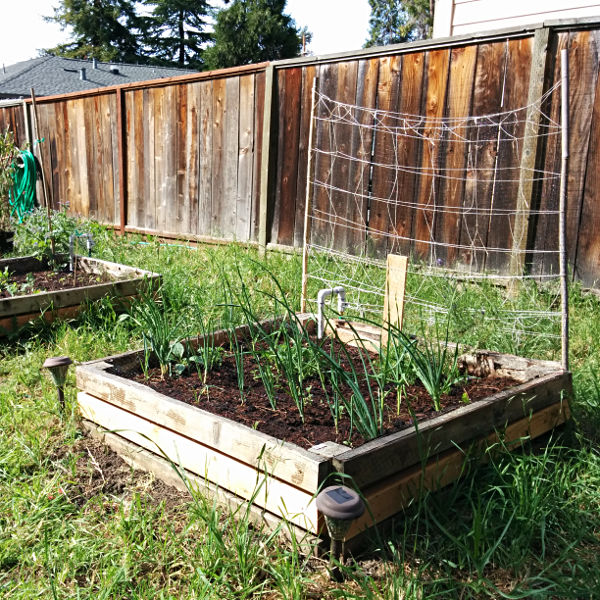
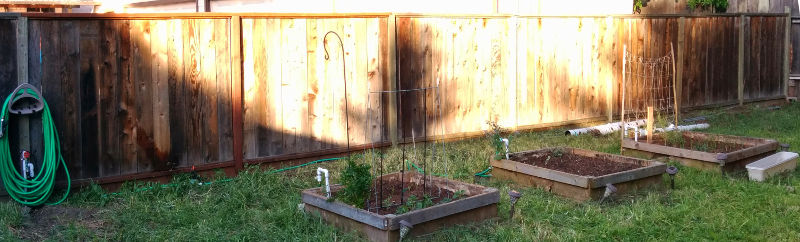
Our boxes
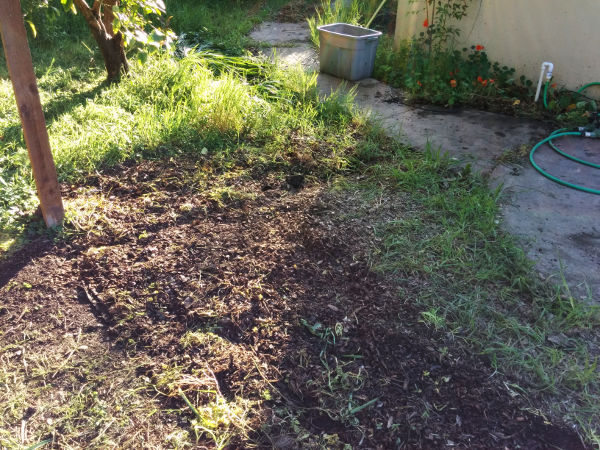
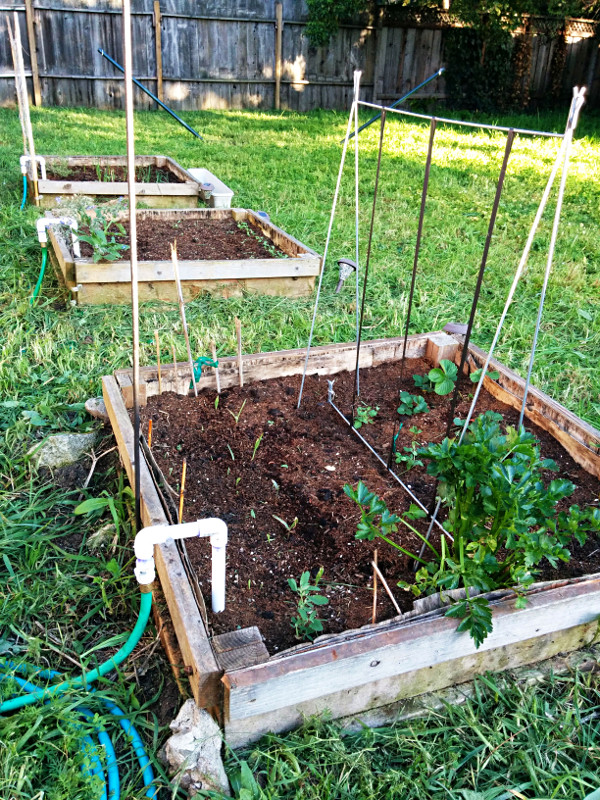
We're fortunate enough to live in a house with a relatively large backyard, but the soil is dry and cracked and full of weeds, so we decided to build some raised planter boxes.
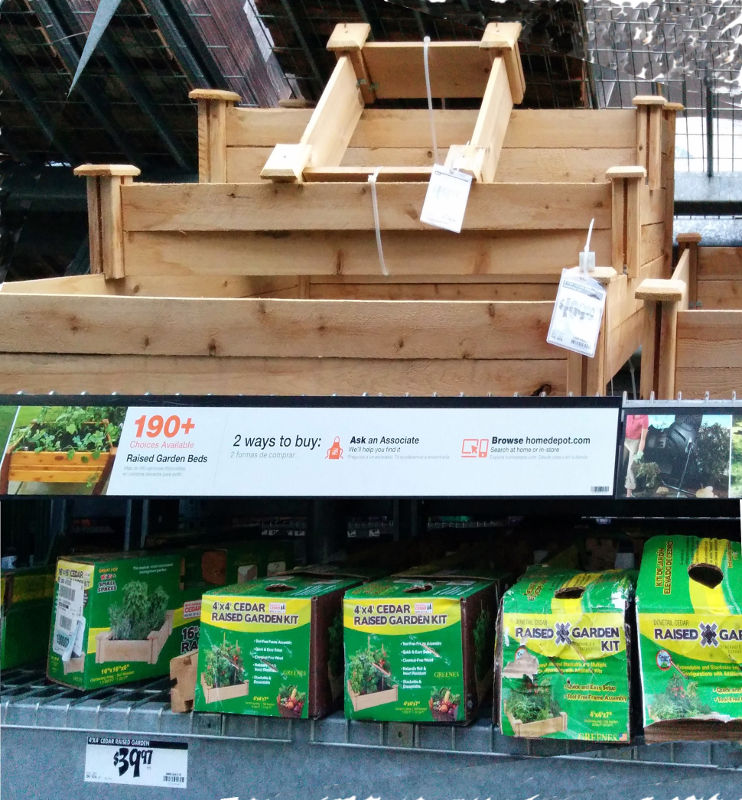
A nice looking kit
You can buy what appears to be a totally reasonable kit for around $40, or you can do like we did and build 'em yourself from 2x4s (we also used some thin plywood, but it was more expensive than 2x4s and it pretty much disintegrated after a season anyway, so we ended up adding more 2x4s).
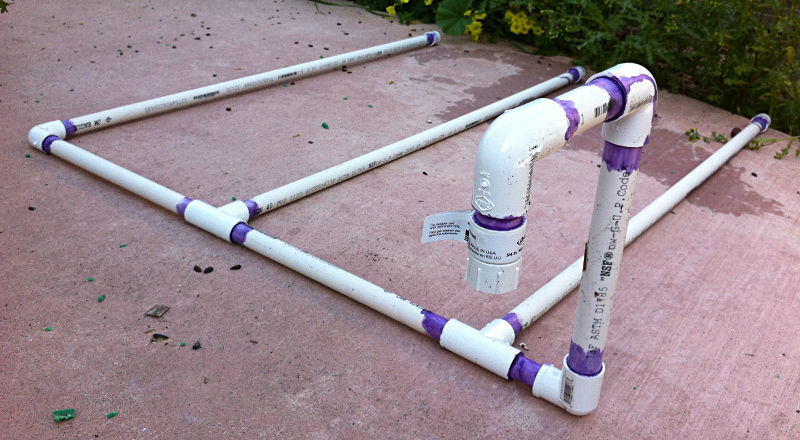
Our watering manifolds
Last season we used those cheap spinny sprinklers but felt like we were mostly watering the area around the boxes. Additionally, we thought too much water was getting on the leaves and contributing to rot and fungus growth. So, this year we decided to water underneath the surface of the soil.

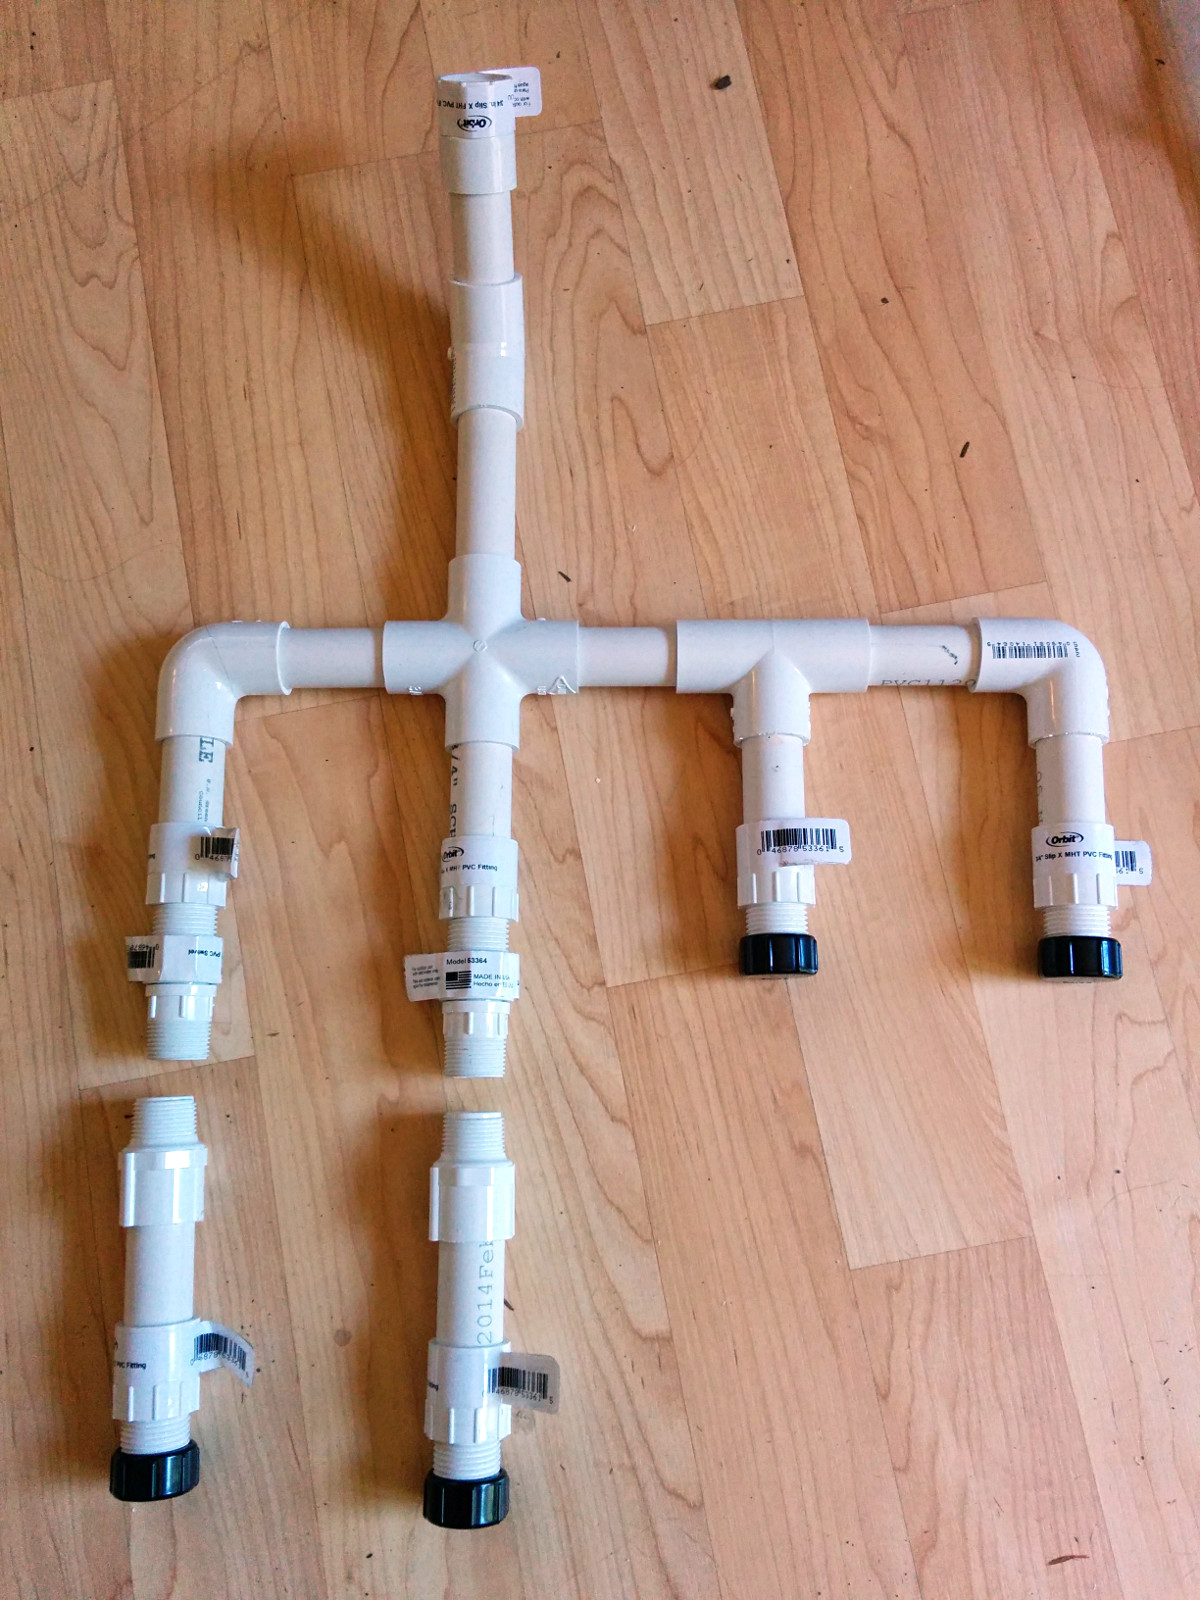
Laying out the pieces
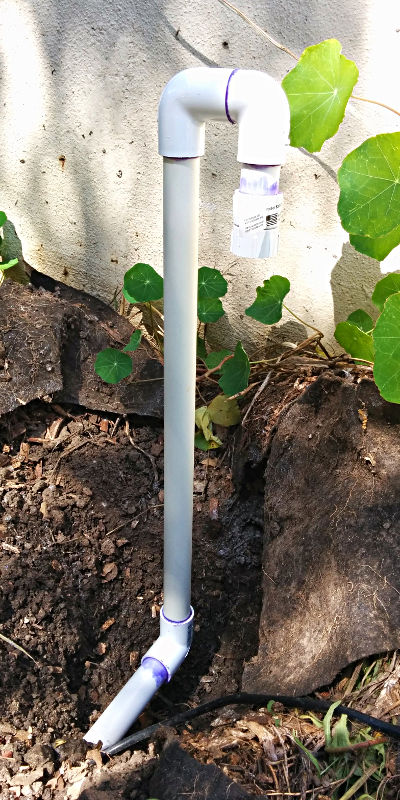
We built our manifolds out of 1/2" PVC with small (3/16"?) holes drilled along the sides of the "fingers". The vertical pipe and the "U" are 3/4" PVC ending in a female garden-hose-thread fitting.
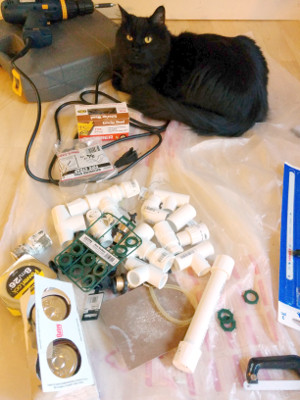
All mine
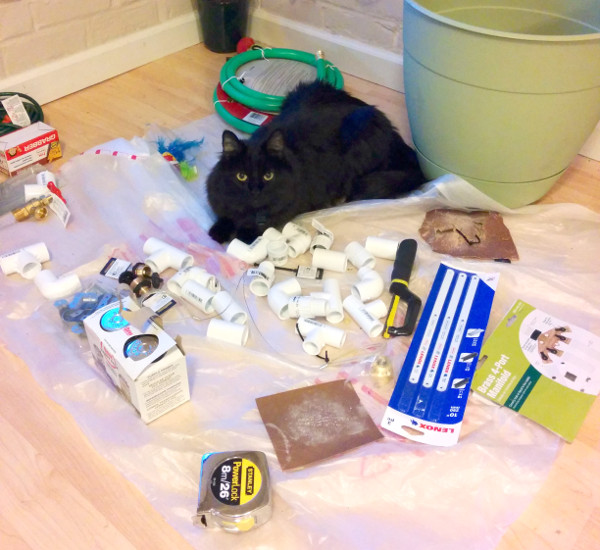
Mine
PVC is cheap and easy to cut with a hacksaw. I strongly recommend glueing everything together with proper PVC "purple primer" and cement. Wear gloves. I think the cat thought he was a dragon hoarding treasure.
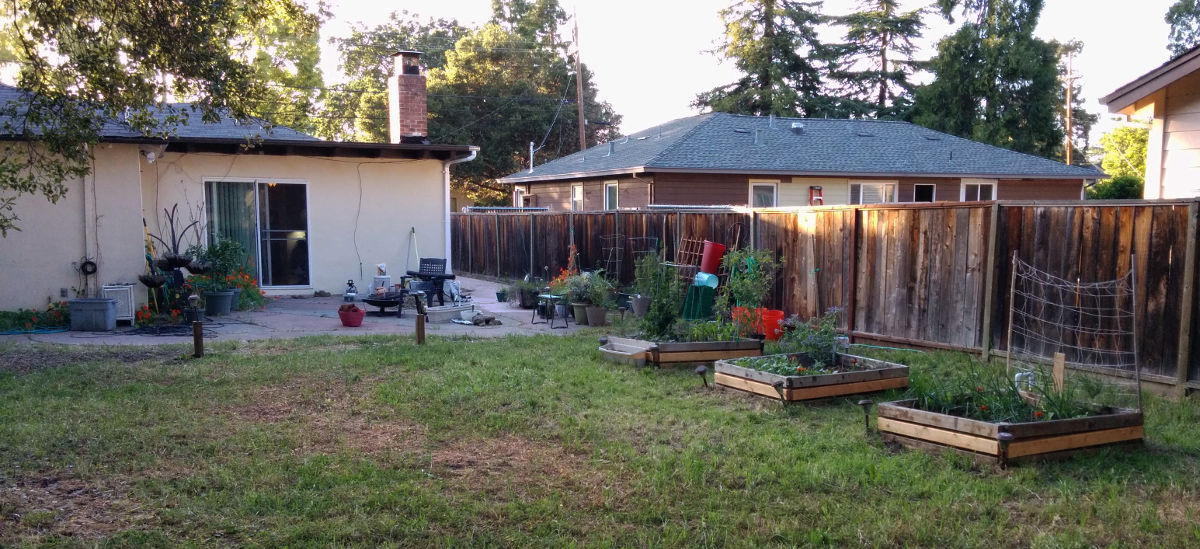
The faucet is on the far left, by the outlet.
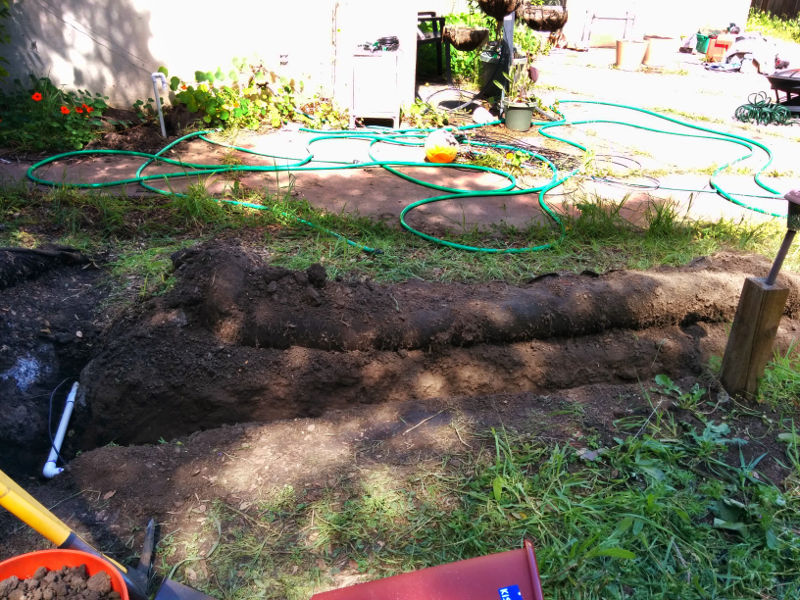
The next problem was that the best location for the planter boxes (for sunlight and maintaining use of the yard) was rather far from the hose bibb. This meant having garden hoses strewn across the yard all the time, or constantly removing and re-placing them.
Our solution? More PVC! (and lots of digging...)
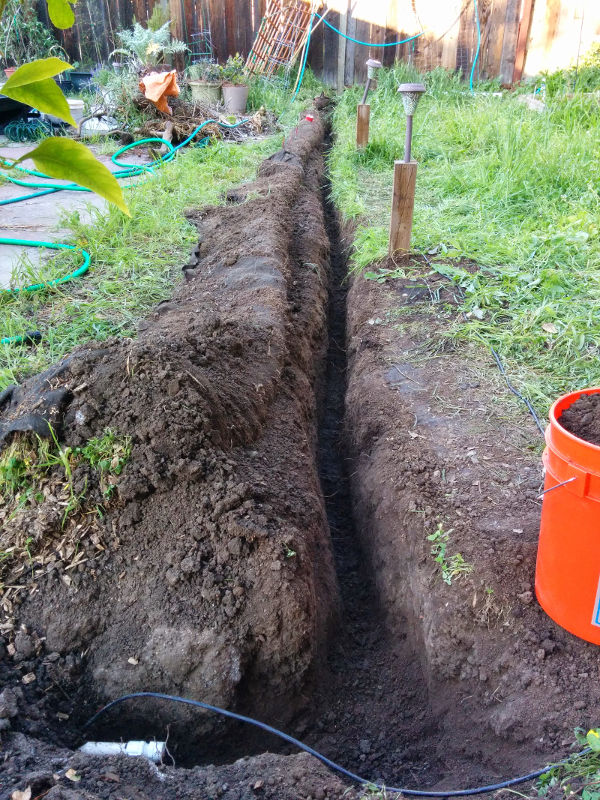
About 40' long
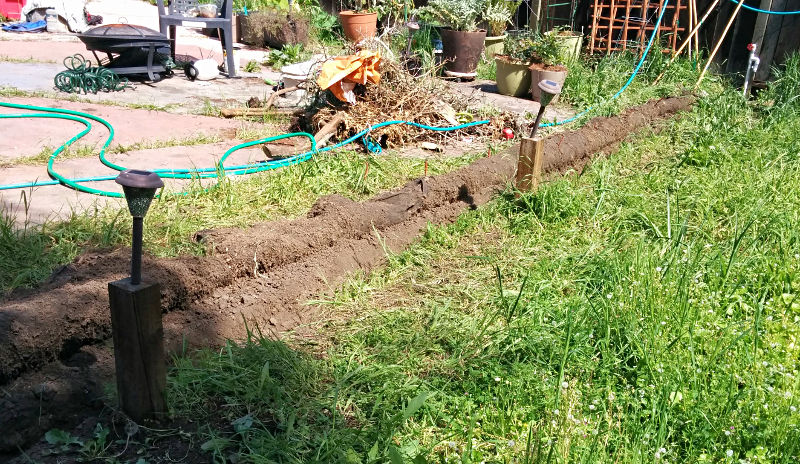
We dug an 9"-deep trench from a fencepost near the beds alongside the patio to a spot across the walkway from the faucet.
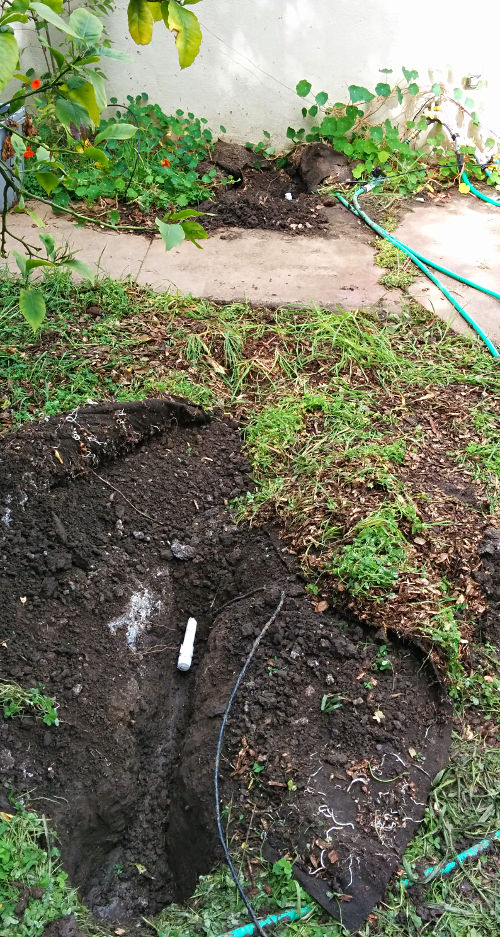
Pipe under the walkway
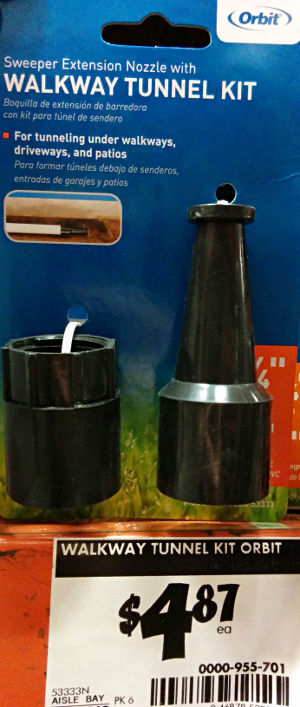
A tunneling kit

So much dirt.
The big toter is half full.
To cross under the walkway, we tunneled using a water-borer made from a garden hose attached to a 4' length of 1/2" PVC with an end-cap that had a small (3/16"?) hole drilled in the end. You can buy a kit for a few bucks, though it mostly only saves you from doing the drilling part.
We also ran some multi-conductor, burial-grade wire under the walkway and along the bottom of our trench for more options in controlling the sprinkers. (I think it was 5-conductor, 18ga solid wire, but I'm not that sure; it was from the sprinkler-stuff aisle.)
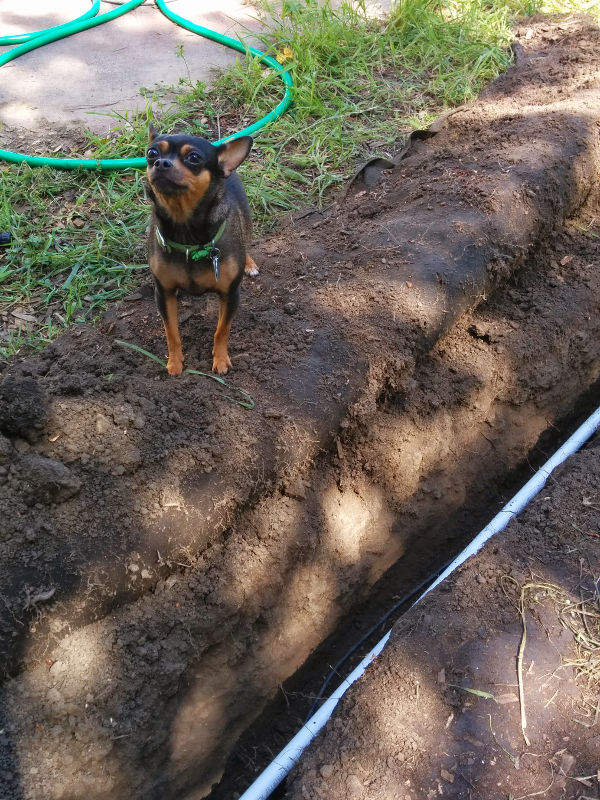
Proper supervision
We laid down 3/4" PVC and the sprinkler wire in the trench and glued it all together.
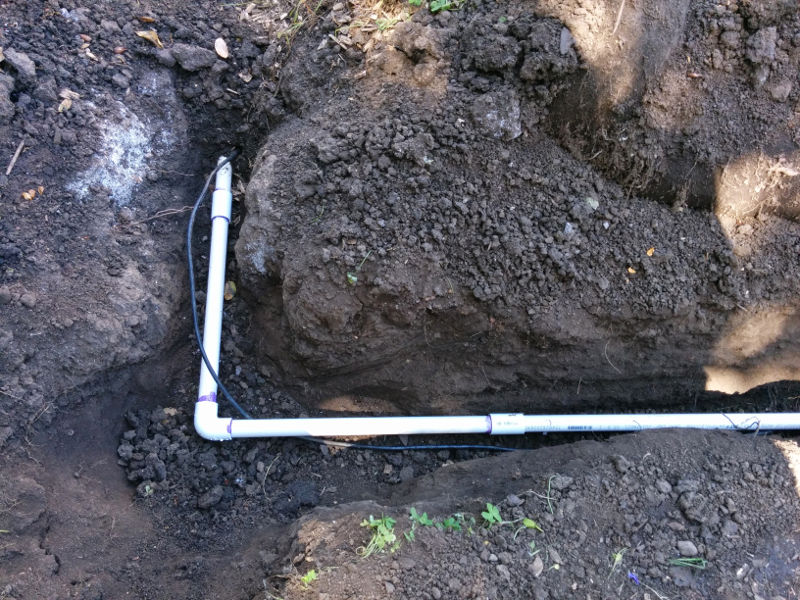
The main elbow
The end near the house
Filled in
The end near the beds
Something interesting we discovered in the digging was that there was landscaping cloth underneath the weeds. Peeling it back to dig was a bit surreal; I felt like I was in The Truman Show and my reality wasn't quite what I had come to expect.
Finally, we put all the dirt back, packed it down (by stomping and wetting it a bit) and unrolled the grass.
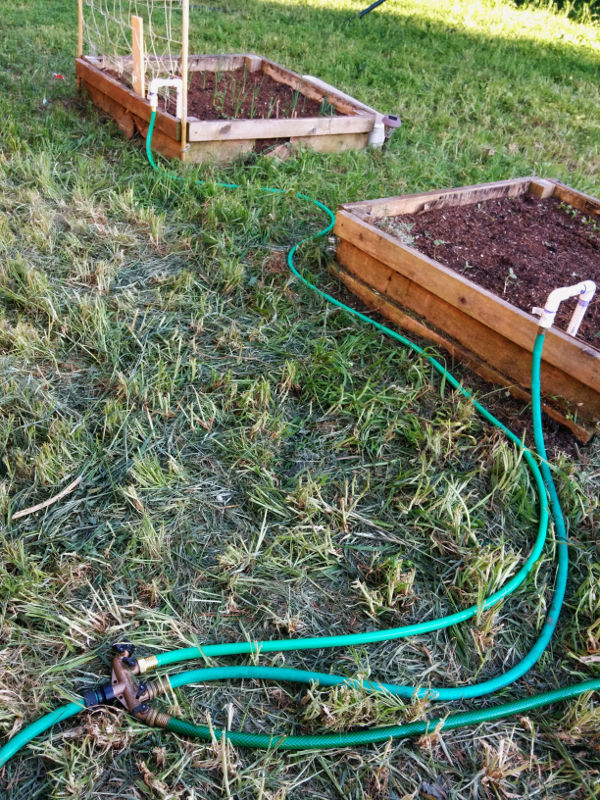
Water to the beds
The exciting part for me is how it's all plumbed together.
Detail of the inlet
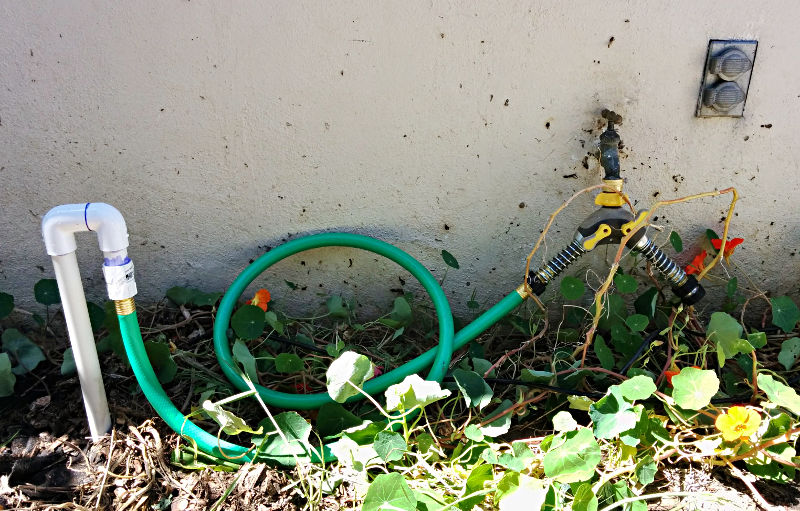
Connected with a leader hose
The faucet from the house has a vacuum-breaker and a Y-splitter, which has a 6' leader hose feeding into the main line under the yard. It was important to us that this system not be permanently connected to the house's plumbing. The vacuum-breaker prevents backflow into the house from the pressurized outdoor line when indoor pressure drops. (You can hear it working whenever you flush a toilet or the diswasher starts up.)
With hose

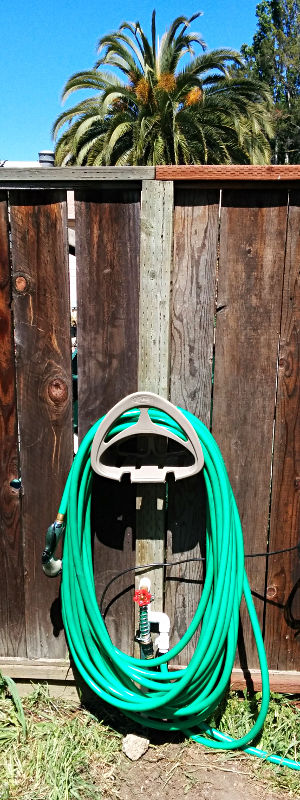
The outlets
At the far end, we have both a faucet and an always-on garden-hose-thread fitting on the side, all securely strapped to the fencepost. To the faucet, we connected a hose and mounted a hose-hanger above it on the fencepost.
Halfway on, for reduced flow
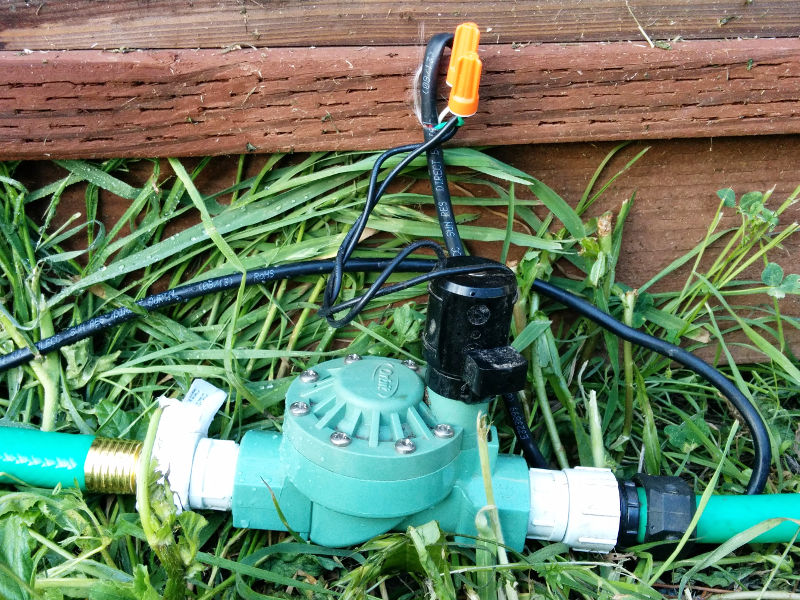
The sprinkler valve

More wire nuts

Wire nuts
The always-on fitting connects via a length of hose to a standard 24VAC sprinkler valve. The valve is connected to the wire with waterproof wire nuts (filled with insulating goo). The valve feeds the beds via a 4-way splitter connected to more garden hoses of various lengths.
Tidy!
And behold, raised planter beds with underground irrigation without ugly hoses criss-crossing the yard. Huzzah!
Brainstorming manifolds
Not that any of this is stopping me from continuing to brainstorm...
As for how the sprinkler valve is controlled, that's probably the subject of a different post. Suffice it to say that it involves a 6am cron job. :)
rob -at- robstarling -dot- org Last modified: Sat May 10 23:07:19 PDT 2014